·
WONDERING and GUESSING what will happen - Even
if your little one is too young to make PREDICTIONS, you can model it for
them! “What do you think will happen to
the ice if we put it out in the hot sun?
I think it will melt!” Modelling
appropriate language is a great way to encourage your little one’s own development.
·
PROBLEM SOLVING - How can we fix it? Change it?
What could we do different?
·
DESCRIBING what’s happening – In this particular
experiment, the bubbling eruptions would make us ooh and ah, but make sure to
narrate what’s happening. “It’s bubbling up and spilling everywhere!”
·
USING YOUR SENSES - Any science experiment is
sure to be a sensory experience as well.
So, talk about what you SEE, SMELL, FEEL and sometimes, TASTE.
·
RECALLING WHAT HAPPENED – Talking about your
experience afterwards is valuable not only to language, specifically narrating
skills (story telling), but also great for memory.
·
SAYING HOW YOU WERE FEELING – Anthony now loves
to tell me when he is “so escited” and I love it. Make sure to share how you felt during the
experiment – excited, nervous, curious, frustrated!!!
As you can see, you can get tons of language out of even
simple science experiments and it’s great at any age! I found this idea on an amazing blog
called: Little Bins for Little
Hands. Here’s what you’ll need:
Plastic Easter eggs
Vinegar
Baking soda
Food coloring
Egg carton
Sequins
Eye droppers
Small spoons
Jars or small bowls
Cookie Sheet
Plastic table cloth
Large bin (for washing everything off afterwards)
I prepared the first part of
the set up the night before without the boys.
I just felt it would be easier that way for this one.
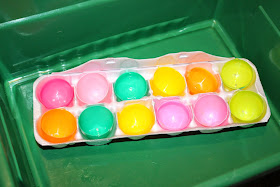
Split your plastic Easter
eggs in half and place them in the carton.
Fill them about half way with baking soda.
Then, mix some sequins into the baking
soda.
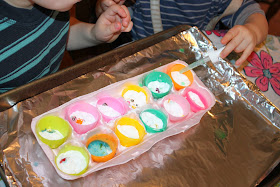
Prep your play area. Put a plastic table cloth on your table and
have the egg carton on a cookie sheet. The eggs will be overflowing so you’ll want
something to catch the mess.
I had Anthony help me with
the vinegar. Pour some vinegar into a
few jars or small bowls. Add different
color food coloring to each and mix.
Now time to play
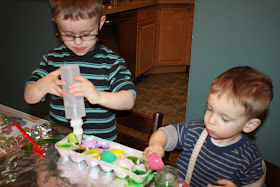
scientist! Using the eye dropper, pour
some vinegar onto the baking soda and…. Bubble, bubble, bubble! Your eggs will be fizzing in color with the
sequins moving around as well.
The look
on Anthony’s face says it all!
Using the
eye dropper is great fine motor practice.
After a while, we tried using a spoon, squirt bottle, then just ending
up pouring vinegar right from the jar!
Once we were all fizzed out,
I gave the boys a large bin filled with soapy water. They splashed around and washed all our eggs
and supplies.
This baking soda experiment
was a lot of fun and definitely something we can do again in the future! If you missed our Easter Egg Painting, check it out now!
Stay tuned for more Easter egg fun…
Love & Language,
Marisa


